
Objective guide
How the Control Zone decides a match
Put more players in the active 2x2 km Control Zone, hold the advantage through each 30-second scoring check, and reach 100 points first.
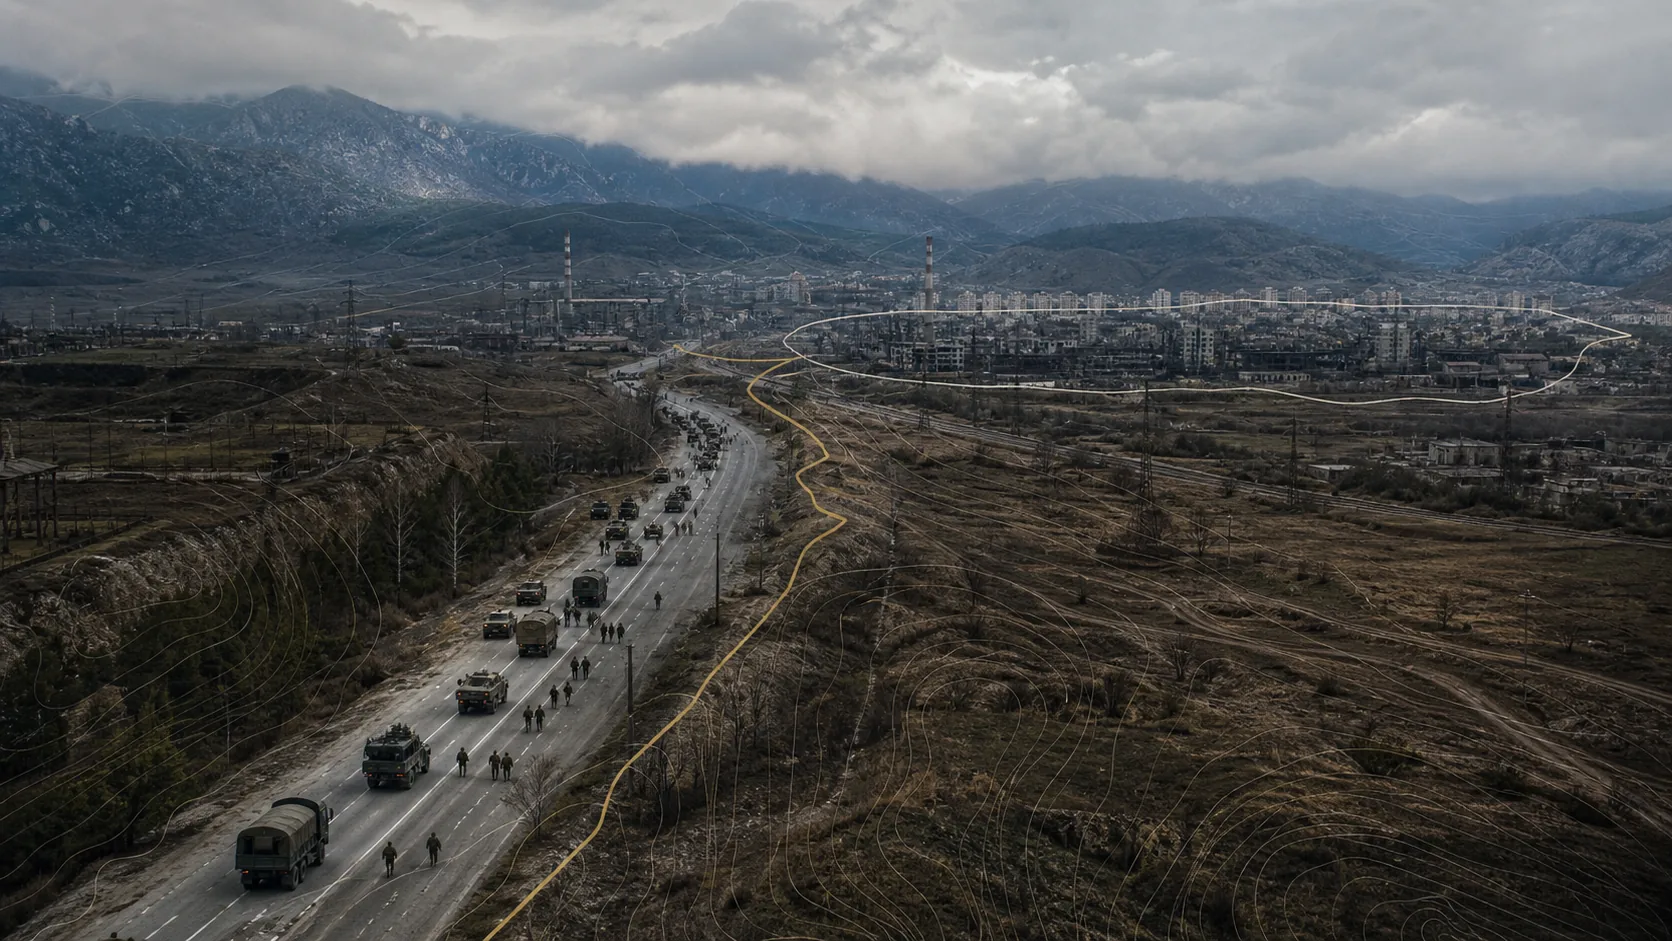
The team with the most players inside the active 2x2 km Control Zone earns one point every 30 seconds, and the first team to 100 points wins. The zone sits inside the larger map, so arriving together and rotating with transport matter as much as winning a nearby fight.
Official scoring rules
The Control Zone is randomized. At each 30-second scoring check, the team with the greatest presence inside it receives one point. A match ends when one team reaches 100 points.
The Hot Zone can award double cash. Available official text does not safely establish double points, so this guide does not use that claim.
Closed Beta tower reports
Beta players widely reported terminals that revealed code pieces and a completed code that influenced Hot Zone placement. This is community evidence from a tutorial report, a separate tower system report, and Steam feedback. It is not a settled Early Access ruleset.
The exact number of code pieces, exact entry location, tower versus drill relationship, timing, cooldowns, and payouts remain unverified. Treat each of those details as unknown until current first-party documentation or the live build confirms them.
Rotation advice
The following is editorial guidance. Watch the objective state, secure transport before a long move, and avoid feeding a tower fight while the scoring zone is elsewhere. Expect beta behavior to change, and let the active objective decide whether a side activity is worth the time.